The flat white is perhaps the most potent symbol of coffee’s “third wave” — the trend of specialty coffee that emerged over the last two decades. With their beautiful, shiny latte art, presented in brightly-coloured ceramic cups, flat whites are highly photogenic — perfect for the Instagram generation.
The flat white is a milk-based coffee drink, but stronger and punchier than the milky lattes and cappuccinos found in coffee shops all over the world. The strong espresso flavor of the drink puts the focus back onto the coffee itself, rather than the milk. This fits in perfectly with specialty coffee’s ethos to focus on the origins and flavor of the coffee beans.
At the same time, the silky, warm milk that is the base of the drink makes the flat white easy to drink. It is no surprise that the flat white, once the “cool” drink for those in the know, has now been adopted by international coffee chains such as Starbucks.
What is a flat white?
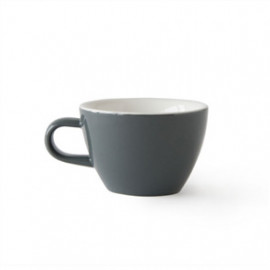
Put simply, the flat white is a small, strong coffee made from espresso and steamed milk. Traditionally, the flat white is served in a ceramic cup, 150–180 ml in size, and topped with latte art made from a thin layer of silky milk foam.
The small size of a flat white compared to a typical latte means that it contains less milk than a latte. As a result it is a stronger drink, which lets the flavor of the espresso dominate. This small size is an essential part of the definition of the drink, so there is no such thing as a “large flat white” — that is just a latte.
In fact, while there’s no ‘rule’ about what makes a flat white, it’s not a drink that can easily be customized. A “dry flat white” is just a cappuccino, while adding syrups or other flavorings goes against the point of the drink — which is to taste the espresso through the milk.
All about the milk
The ‘flat’ part of flat white tells you that it should have less foam on top than a cappuccino. Depending on where you order your flat white, the foam layer on your drink could be anywhere from 1 mm to 1 cm thick. If the foam is more than 1 cm thick, then the resulting drink is closer to a cappuccino.
The milk should be steamed in such a way that the bubbles in the foam are too small to see. This is called “microfoam”. Properly steamed microfoam doesn’t look frothy or bubbly, but liquid, velvety and glossy.
This thin, glossy milk, with only a thin layer of foam, flows easily from the pitcher. This allows the barista to pour more intricate latte art patterns on top of a flat white than on a cappuccino.
The milk should also not be too hot. This is good advice for all coffee drinks, but is often considered an essential part of the definition of a flat white. The milk should be steamed to around 55–60°C, and definitely not hotter than 65°C. Any hotter than that, and the proteins in milk start to break down, giving it a “cooked”, eggy flavor. At 55°C, the milk tastes sweetest and richest, the perfect balance to the strong flavor of the espresso.
Ristretto or Espresso?
While most baristas agree on what the milk for a flat white should look like, with some minor differences, there is a lot of discussion about the ‘correct’ espresso for a flat white. Should it be a single shot or a double? And should it be a standard espresso, or a ristretto, a stronger espresso made with less water?
The ristretto became popular in a time when most of the coffee available was dark-roasted and bitter. Using less water hides some of the bitterness and brings out the acidity and aromas in the coffee, so the ristretto became popular as a way to make the most of dark-roasted coffee.
Baristas today have a much wider choice of coffees to work with, so the ristretto has become less common. Baristas that want bright, fruity aromas and low bitterness in their coffee can choose lighter roasts, instead of using less water. So while many baristas still use a ristretto as the basis of their flat white, it is more common now to use a standard espresso.
Whether that espresso should be single or double depends on how strong you want the drink to be. The flat white should be fairly strong — so with a larger cup, around 180ml, a double shot is pretty much essential. With smaller cups (around 150 ml), however, many cafes will serve a single shot as the basis of their flat white.
How is the flat white different to other milk drinks?
Since the only ingredients in a flat white are espresso and milk, it is quite similar to the other common milk drinks in a cafe, such as cappuccinos and lattes. The main differences are the size, and the amount of foam.
The main difference between a flat white and a latte is the size. A flat white is smaller, and therefore stronger, than a latte.
The main difference between a flat white and a cappuccino is the thickness of the foam. The flat white is a similar strength to a cappuccino, but has thinner foam.
A flat white is also different from a ‘white coffee’. A ‘white coffee’ usually refers to a long black coffee, such as an americano or a filter coffee, with a splash of milk added. Since the flat white is based on milk rather than water, it is richer, creamier, and sweeter than a white coffee.
Where does the flat white come from?
The flat white originates either from Australia or New Zealand. There’s a friendly rivalry between these two countries, and a long-running argument about which country was the original inventor of the flat white.
While the flat white became known to most of the world relatively recently, a version of the flat white has existed since at least the 1980s. At the time, coffee culture in Australia and New Zealand was dominated by their version of Italian-style espresso bars.
People who preferred to drink their coffee with milk had a choice of two drinks: a latte, which would be a long drink with a lot of milk, and a cappuccino, which would be stronger, but often have a thick layer of foam on top. At the time, cappuccinos would often be served with dry, bubbly froth on top, instead of thick, silky foam.
The ‘flat white’ emerged as an alternative to these two classic drinks — stronger than a latte, and not dry and frothy like a cappuccino. While the flat white is often seen as the “cool”, trendy drink for coffee snobs, it didn’t start out that way. In fact, the flat white was probably invented as a way for cafes to replicate the coffee that customers would drink at home — instant coffee with milk, and no foam.
Whichever country it really came from, the flat white started to become popular around the world as Australians and Kiwis, who had grown up with the flat white as a staple in their cafes, emigrated to other countries. Many emigrants set up specialty coffee shops in the countries they went to, such as the legendary cafe called Flat White in London, established in 2005.
How to make a flat white at home
A flat white only has two ingredients — espresso and milk. While it sounds simple, making a flat white at home takes a bit of skill. If you want to make a true flat white, you need to start with a good espresso, which means an espresso machineis essential. You will also need to learn how to steam milk correctly to get silky microfoam, which takes some practice.
Don’t worry if you don’t get it right the first time — baristas train for months before they can make flat whites in cafes. The good news is, even if you don’t get the perfect microfoam and latte art at first, the drink will still be delicious.
Here’s the method to prepare a perfect flat white at home:
Step 1: Make a double espresso
The perfect cup for a flat white is 150–180 ml in size. Pull a double espresso directly into the cup, following your usual recipe for espresso. On the other hand, if you want to try a flat white with a ristretto, you can reduce the amount of liquid that you use to make the espresso by about one third.
Step 2: Put milk into the pitcher
If you start with the right amount of milk, it’s easier to steam and much easier to pour latte art afterwards. Usea small milk pitcher (~350 ml) and pour in milk to just below the halfway point.
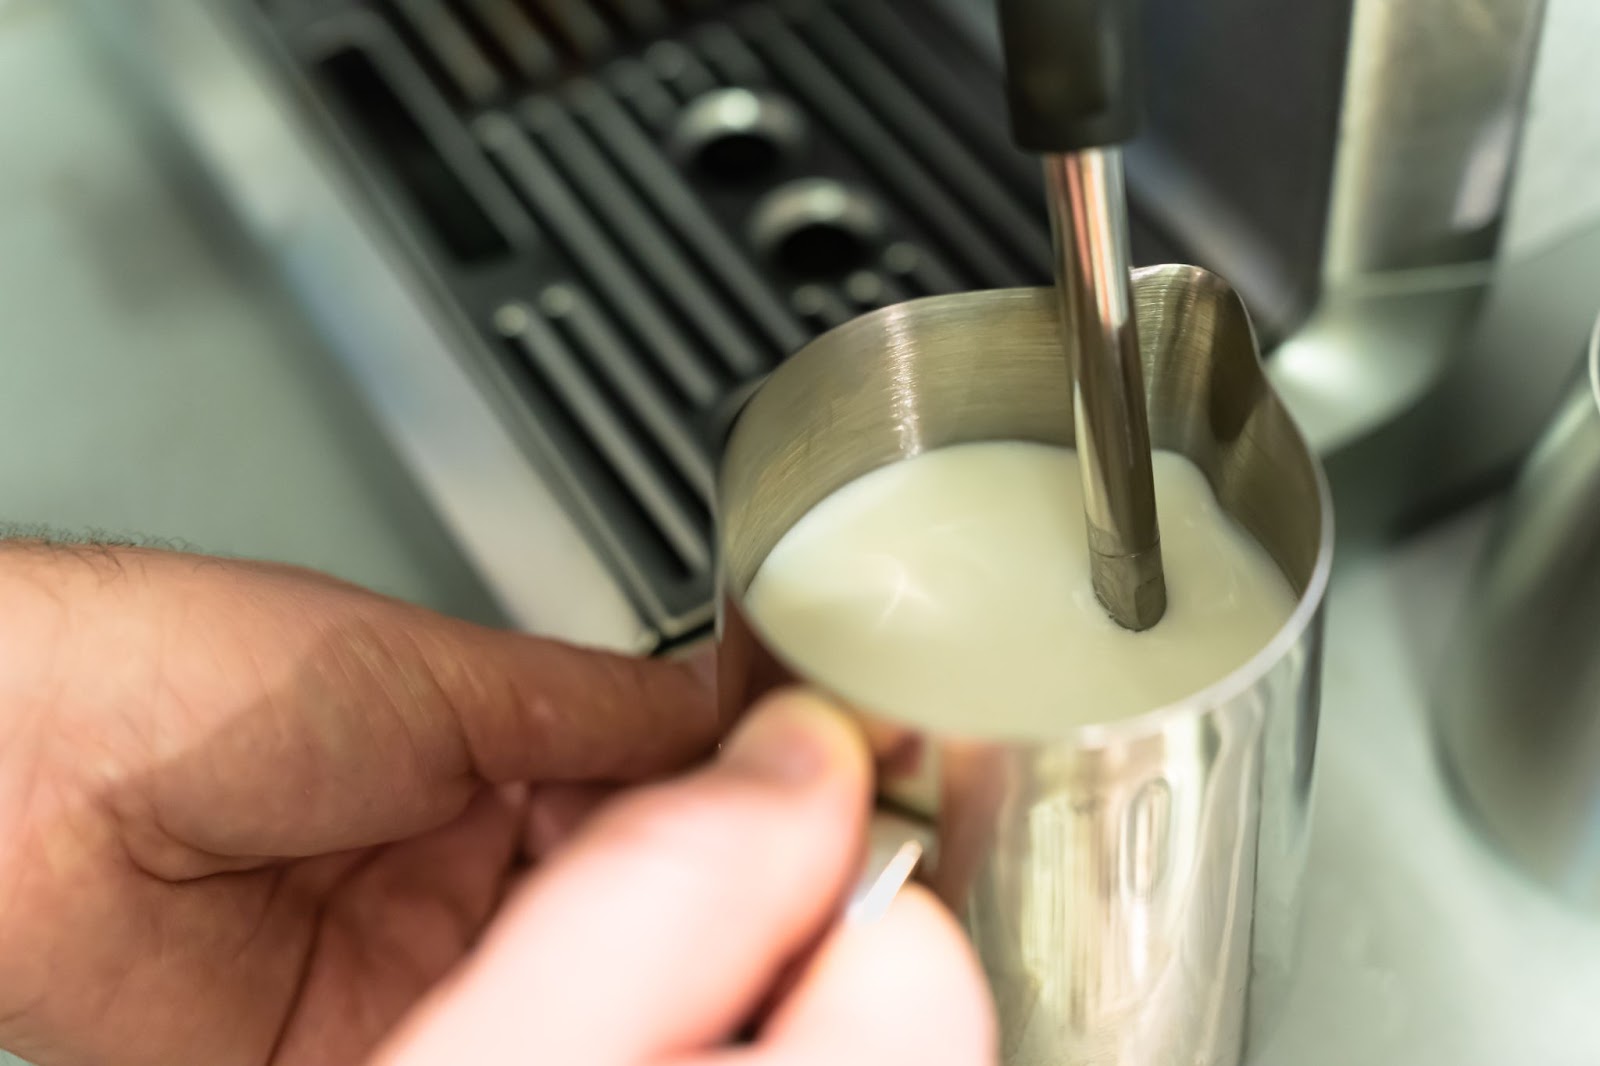
Step 3: Stretch the milk
There are two stages to steaming milk correctly. The first step, called ‘stretching’, is when you add air to the milk to create foam. This increases the volume of the milk (‘stretches’ it).
The trick to creating microfoam is to finish stretching the milk before it reaches 38°C. This means that you need to add bubbles to create all the foam that you need before the milk starts to feel warm to the touch.
Start by putting the tip of the steam wand just below the surface of the milk, and tilt the jug slightly to one side. Turn the steam on full power, and listen out for the hissing sound of bubbles being forced into the milk. Once the surface of the milk has risen by a centimeter or so, and before the milk gets hot, it’s time to stop aerating: Keep the steam turned on, but lift the jug so that the steam wand is buried deeper in the milk and the hissing sound stops.
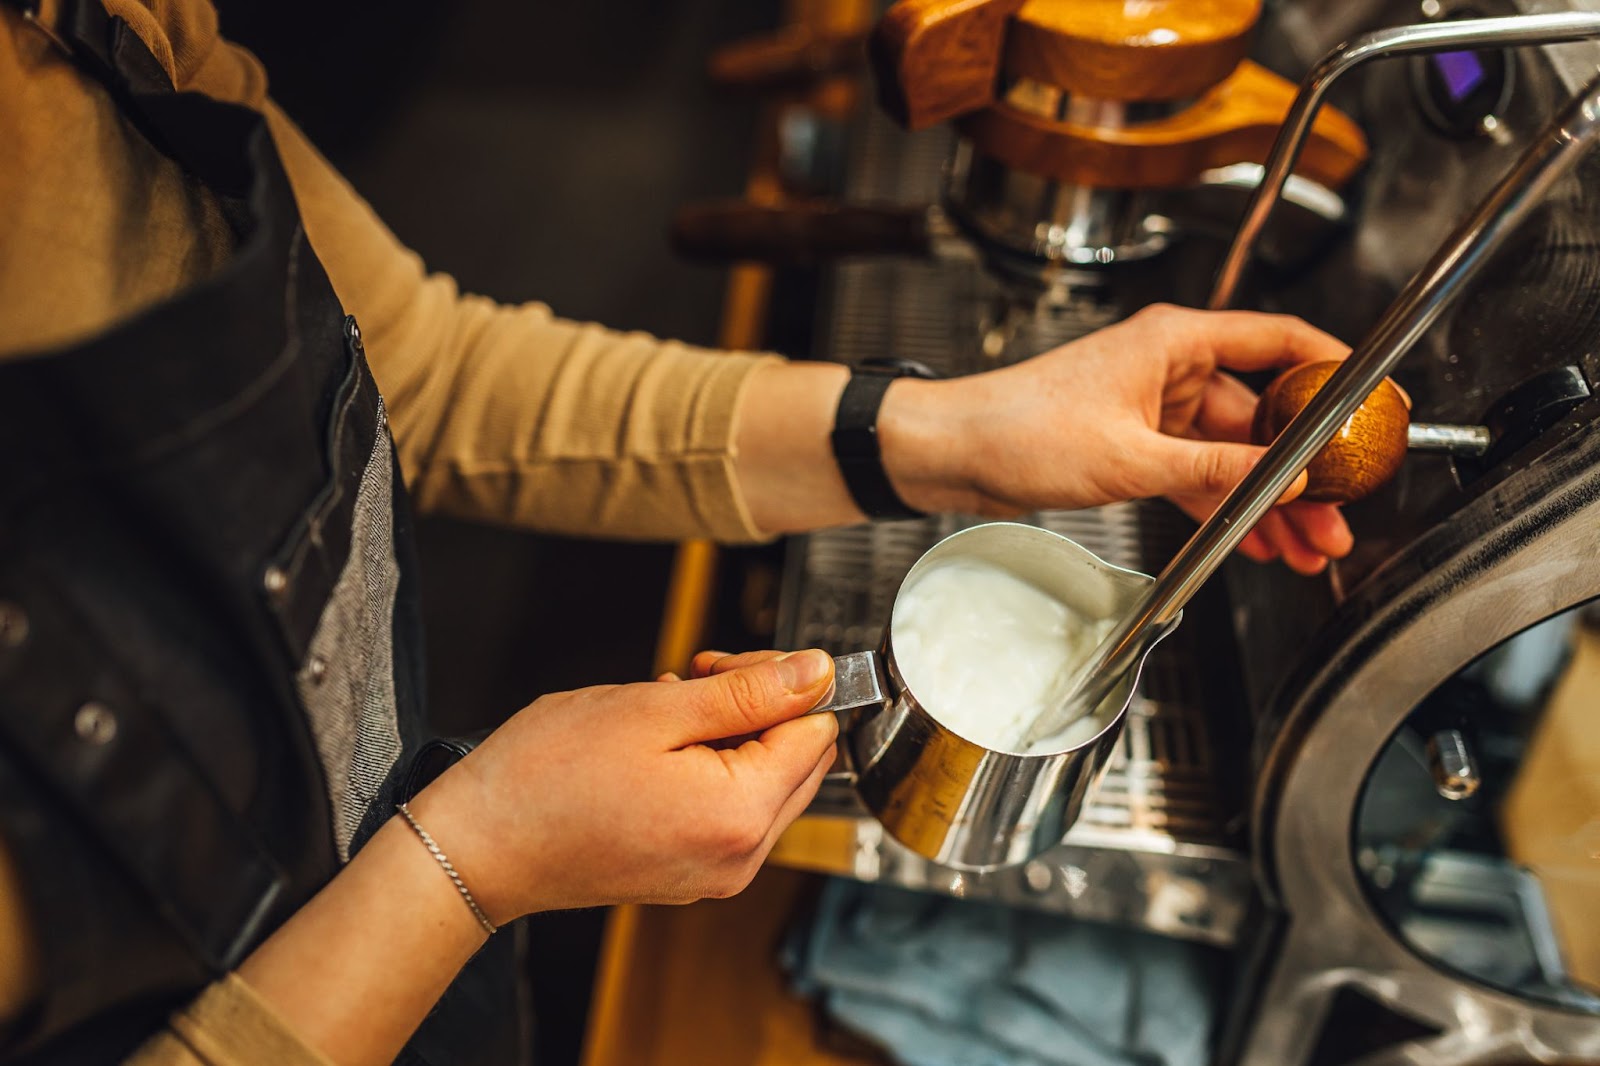
Step 4: The whirlpool
The second stage in creating microfoam is called the ‘whirlpool’ or ‘vortex’. If you keep the jug tilted to one side, the milk should spin in a circle around the steam wand. This whirlpool action mixes the foam floating on top into the milk underneath, breaking up the big bubbles.
While the milk spins around, it keeps on getting hotter. As soon as the milk pitcher gets too hot to touch, turn the steam off. Alternatively, use a thermometer and steam the milk until it reaches 55–60°C. Don’t forget to clean off the steam wand after you’re done!
Step 5: Mix
At this stage your milk should look shiny and silky, and not too thick. If the milk looks too thick or frothy, you can scoop off some of the foam with a spoon.
If there are any big bubbles still visible in the milk, try knocking the pitcher on the counter to pop the largest bubbles. Then swirl the pitcher to mix the foam and milk together. Keep swirling until the mixture looks like glossy wet paint, and then immediately start pouring the milk into the espresso.
Step 6: Pour
Start by pouring a thin stream of milk into the espresso, pouring in small circles to break up the crema. The idea is to mix the milk foam and crema together, to create an even, light brown ‘canvas’ to draw your latte art on.
When the cup is three-quarters full, bring the jug down as close as possible to the surface of the coffee and pour a little bit faster. The foam should start floating on the surface of the drink, creating a white circle — the beginning of all latte art.
When the cup is nearly full, finish the pour by lifting the jug so that you are pouring a thin stream of milk again, and then drawing the stream of milk through the middle of your white circle. This should pull the circle into a heart shape. Congratulations — you’ve poured a flat white!
 Fellow Ode Coffee Grinder Repair After Grinding Cascara | Practical StepsRead more
 WPM Primus Update Guide – Version 46EU: Enhancing Water Flow ControlRead more
 Espresso Machine Pump Comparison: Vibratory vs Rotary vs Gear PumpRead more
 Coffee in Arabic and World LiteratureRead more
 Espresso machine cleaning schedule and How to do itRead more
 How to Brew The Perfect V60: Common Problems And How To Solve ThemV60 Coffee is considered one of the best-selling items in specialty cafes, it is a way for the barista to show off...Read more
 What’s the Difference Between the V60 and the ChemexThe V60 and the Chemex are probably the two most popular pour-over brewing methods worldwide. Almost every cafe that...Read more


Leave a comment